
Rot repair is a scope question before it is a board-price question. Determine how far deterioration extends, why moisture reached the wood, and how the repaired area will be matched and protected.
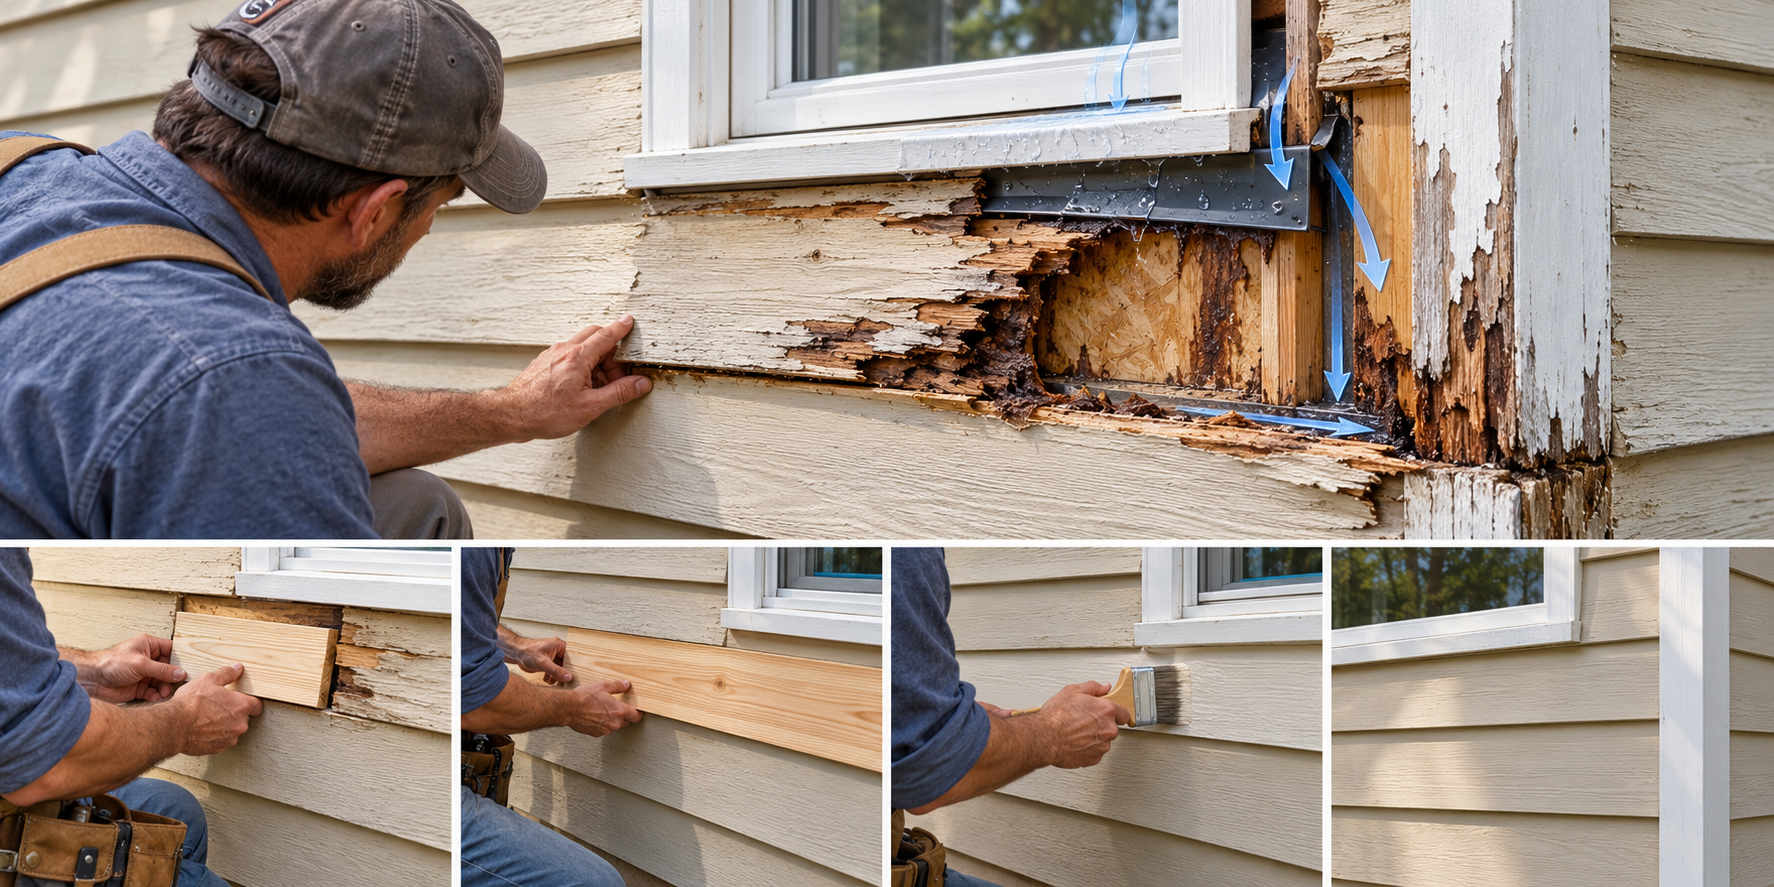
The visible board may not be the boundary
A quote may include board or shingle removal, replacement material, profile matching, priming or painting, and cleanup. If the wall is open, the contractor may find damaged sheathing, framing, flashing, or other layers. Visible softness is not a reliable measure of concealed damage.
Wood siding works with flashing and a drainage plane behind the cladding. Replacing boards without correcting a failed detail can recreate the rot. Ask where water is believed to enter and what observation supports that scope.
Cost drivers include the amount removed, custom profile matching, upper-story access, trim and window transitions, substrate repair, pest inspection, and finish restoration. Homewyse’s September 2026 U.S.-oriented model gives $16.83–$20.04 per square foot for basic board-siding repair, including a replacement siding task and weather-barrier work but excluding the finish. It does not identify a wood species or diagnose rot, and it is not a Canadian quote or a complete repair budget. Get a local quote with separate lines.
Repair suits localized rot with a correctable water source and practical matching. Broader replacement may fit widespread damage, unavailable profiles, or repeated work. Pest treatment and whole-wall moisture diagnosis belong with their respective specialists. See siding repair versus replacement.
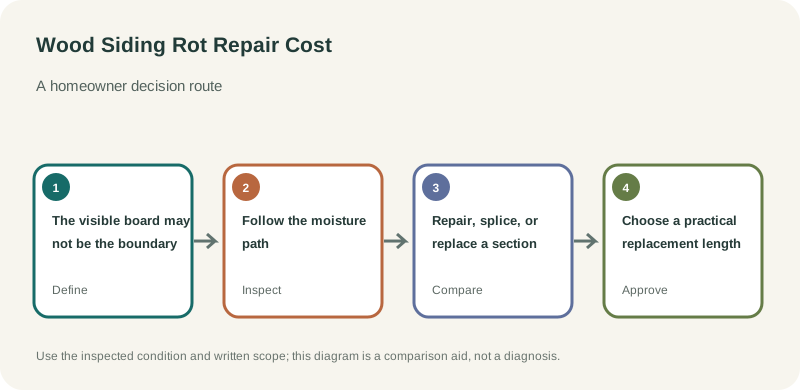
Follow the moisture path
Rot often appears at board ends, trim, corners, horizontal joints, window sills, and places where water is repeatedly deposited. Ask the contractor to describe where the wood is soft and what nearby detail could be keeping it wet. A repair that replaces a decayed board without correcting failed flashing, open joints, roof runoff, or ground clearance may only reset the clock on the same failure. The quote should distinguish the visible carpentry from any investigation or correction behind the cladding.
For localized damage, ask whether the sound wood boundary can be established without opening a large area and how the repair will tie into existing material. Specify whether the price includes removal, disposal, matching profile, priming or end treatment, paint or stain, and adjacent trim. If the final boundary is concealed, agree how the contractor will document additional decay and price it before proceeding.
Repair, splice, or replace a section
A small patch can preserve sound original siding, but it may be difficult to match wood dimensions, grain, weathering, and finish. A longer replacement run can create a cleaner result and reduce the number of joints, although it raises material and finishing cost. Ask for both scopes if appearance is important. Confirm that any splice or joint is located and detailed to shed water and that the repair does not depend on filler to bridge materially deteriorated wood.
Repeated rot at multiple elevations suggests the repair boundary may be larger than one board. Compare accumulated service calls with a scoped section replacement and ask whether the wall needs broader moisture investigation. The appropriate choice depends on how much sound material remains, the source of wetting, access, and whether the finish can be maintained—not just the square footage of visible decay.
Choose a practical replacement length
Rot limited to a small end may allow a repair with a carefully detailed splice, while damage along the length can make full-board replacement more reliable. Ask the carpenter to show the cut line and explain how the new board will be joined, fastened, finished, and kept clear of surfaces that hold water. A short patch can save material but add joints and visible variation; a longer replacement uses more stock but may simplify finishing and future maintenance.
If the original species or profile is unavailable, compare custom milling, salvage material, and a compatible alternate product. Confirm how the alternate changes thickness, movement, paint absorption, and trim alignment. Do not approve a substitution based only on a similar color in the supplier’s display.
Monitor the repaired detail
After work, photograph the repaired area and note any remaining stain, joint, or water source that was not addressed. Follow the recommended finish maintenance and recheck the location after heavy rain or a seasonal change. If moisture returns, use that evidence to revisit the source rather than repeatedly replacing the same board. Keep the invoice clear about which flashing or sealant details were changed and which remained untouched.
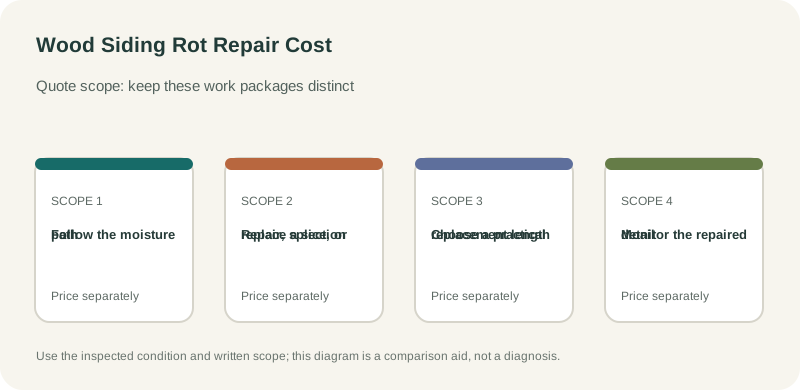
Compare a board repair with a larger wet-area repair
A small case replaces one board or end and restores the finish. A more involved case opens the wall, repairs backing or flashing, and replaces a longer run so water no longer reaches the wood. Ask the contractor to separate those scopes and explain what evidence would move the project from one to the other. A fixed price for visible carpentry plus a documented concealed-work allowance is clearer than a single open-ended estimate.