
Exterior sealant renewal is a professional joint-repair project, not a promise to seal every visible gap. Cost depends on joint design, old-sealant removal, preparation, material, access, length, and adjacent repairs.
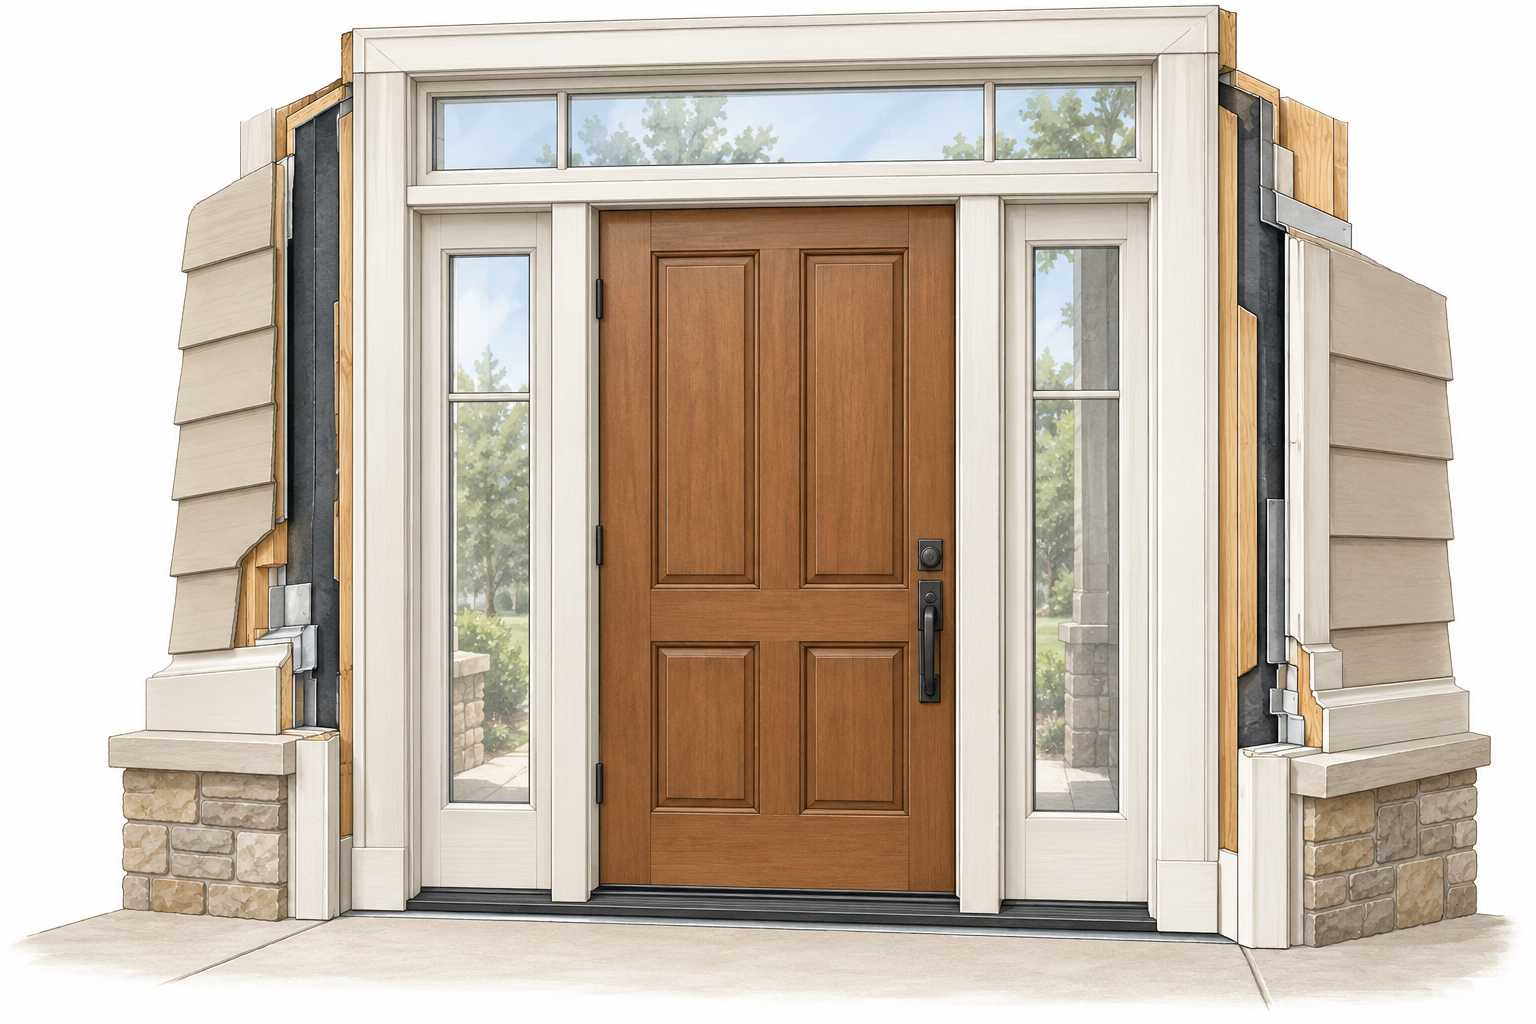
A quote can cover inspection, removal, substrate preparation, backer rod where appropriate, new sealant, tooling, masking, access, protection, and cleanup. Window and door perimeters, cladding-to-trim transitions, penetrations, EIFS joints, stucco, and masonry each have different requirements.
BC Housing guidance identifies joint profile, substrate preparation, and sealant selection as important to durability. Ask for the exact product and intended joint rather than a generic recaulk-exterior line.
Sealant is not a substitute for missing flashing, a failed drainage plane, blocked weeps, poor roof drainage, or a wall that is holding water. Do not close drainage openings because they resemble cracks. A recurring leak may need targeted diagnosis or an envelope assessment.
Homewyse’s May 2026 U.S.-oriented model gives $2.45–$5.03 per linear foot for basic perimeter caulking at window and door trim, fascia, and siding edges in favorable conditions. It is an estimator model, not a sampled bid distribution, a price for every joint, or a Canadian benchmark. Ask whether pricing is by linear foot, opening, elevation, or project; whether access and removal are included; and what happens if the substrate is deteriorated. If broader flashing, WRB, or enclosure work dominates, use that scope.
Specify the joint before asking for a unit price
A contractor should identify which joints will be renewed and which are intentionally open for drainage or movement. Ask for a marked plan or list of openings, joint lengths, widths, substrates, and exposure. The correct sealant and joint shape depend on those conditions. Request the manufacturer’s product data, primer requirements, compatible backer material, and expected finish so that “recaulking” describes a defined repair rather than a bead applied wherever a gap is visible.
Removal and preparation often determine labor. Clarify whether old sealant is fully removed, how the substrate is cleaned and dried, whether masking is used, and what happens if the joint edges are damaged or contaminated. Ask how the contractor handles windows, doors, dissimilar materials, stucco, EIFS, and masonry separately; one product or detail may not be appropriate across all of them.
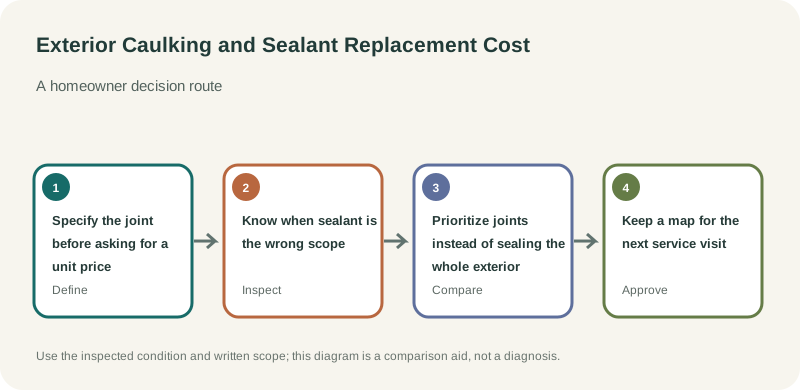
Know when sealant is the wrong scope
Open weeps, drainage exits, expansion joints, and designed ventilation paths should not be closed simply to make a wall look continuous. If water recurs, ask whether flashing, roof drainage, failed transitions, or a larger wall assembly is the source. The quote should say what symptom the sealant work addresses and what conditions it cannot correct. A diagnostic visit may be more useful than renewing the same joint repeatedly.
Compare bids by total length and joint type, preparation, access, material, warranty, and cleanup. Ask whether the contractor prices by linear foot, opening, elevation, or mobilization and what the minimum visit charge covers. Retain product and color information so future repair can use a compatible material.
Prioritize joints instead of sealing the whole exterior
A contractor should be able to explain why each included joint is being renewed and which joints are intentionally left open. Ask for a prioritized list: failed sealant that allows water entry, joints that have reached the end of service, and cosmetic gaps that do not require closure. This keeps the work focused and prevents a blanket application from blocking drainage or movement paths. If an opening leaks, compare targeted testing with full perimeter replacement before assuming all sides need identical treatment.
Confirm whether the price includes removal of existing caulk from both sides of the joint, access equipment, masking, and cleanup. Ask how the new sealant will be tooled and how soon rain or temperature exposure is acceptable. If an opening is unusually wide or the substrate is deteriorated, the contractor should say whether carpentry or flashing repair must happen first.
Keep a map for the next service visit
Photograph and label renewed joints by elevation and opening. Record the product, color, primer, and installation date. A later inspection can then distinguish repaired sealant from original joints and can track whether the same location is failing again. If repeated maintenance is needed, investigate whether water-management design or movement is the real issue before paying to recaulk the same perimeter.
Review the quote by joint type
Group the estimate into window and door perimeters, cladding transitions, masonry joints, and any other defined detail. Ask for length or count, preparation, product, and access for each group. A bid that prices one general linear-foot rate may conceal different removal and backing conditions. If the contractor finds failed wood or masonry edges, require that repair to be priced separately before new sealant is applied.