
Stone veneer repair can mean resetting a loose unit, replacing a damaged piece, renewing mortar, correcting water management, or removing and rebuilding a larger area. Natural and manufactured veneer should not be priced as the same system.
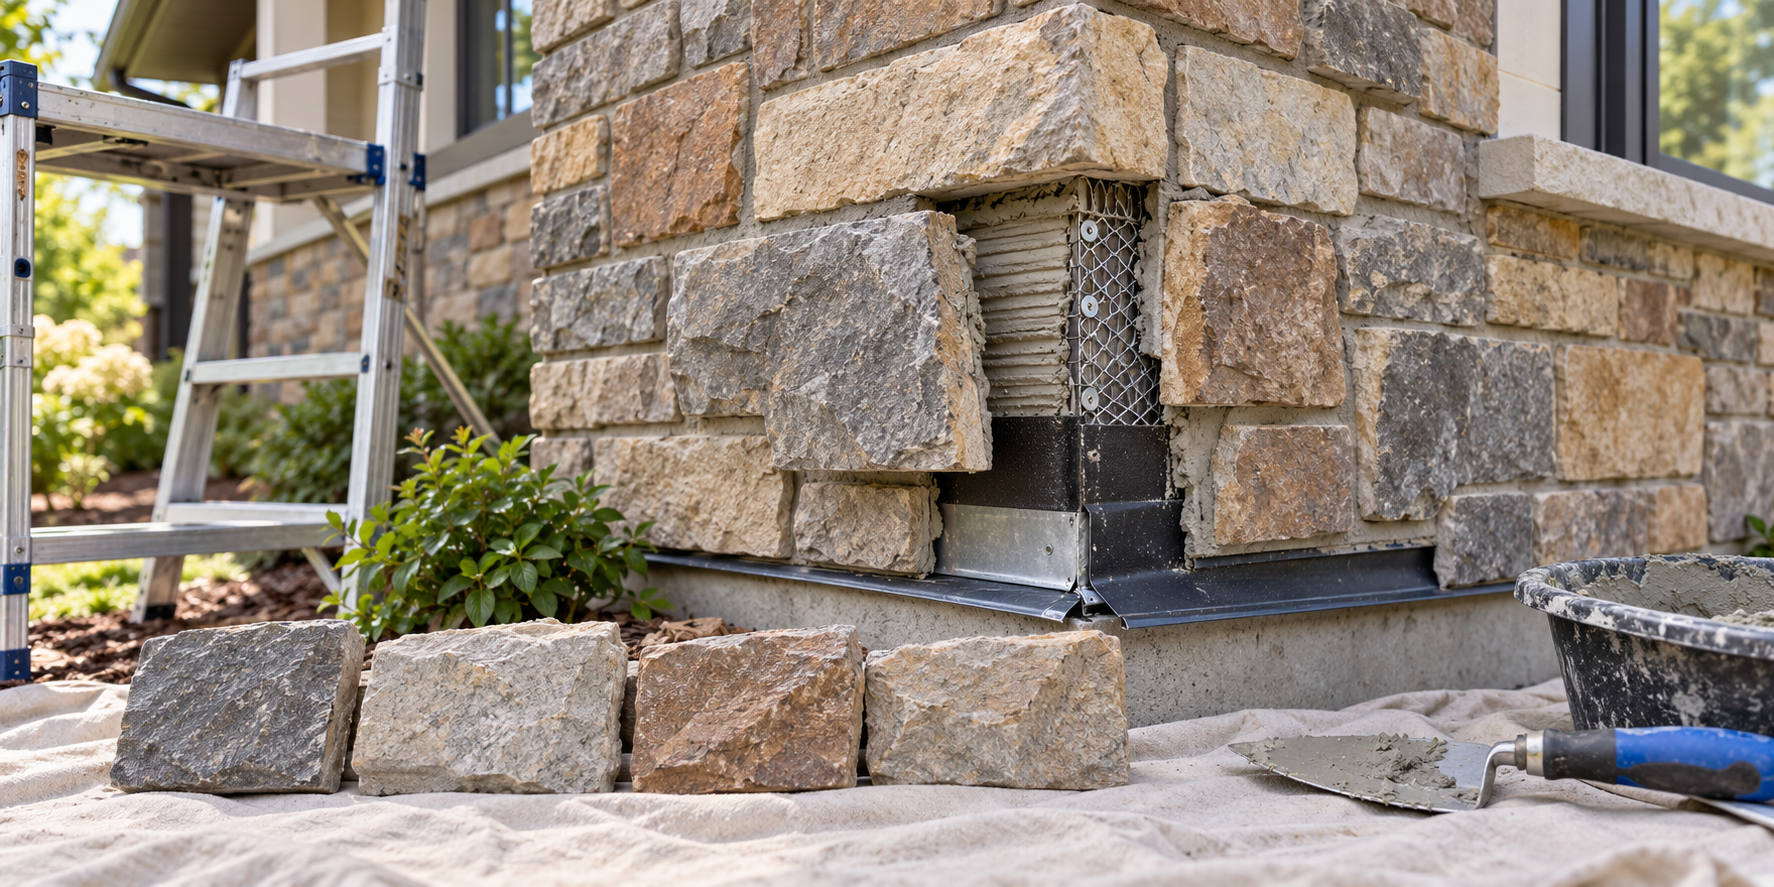
Ask whether the proposal covers inspection, units, mortar or approved joint material, substrate, lath or attachment, flashing, sealants, access, matching, and cleanup. Upper walls, corners, custom pieces, and partial removal can dominate labor.
Moisture and freeze-thaw exposure can affect masonry behavior, but no visible crack, stain, or loose unit proves one cause. If water reaches the wall, the drainage plane, flashing, openings, weeps, and substrate may need investigation.
The evidence does not establish a dependable national stone-repair price or Canadian benchmark. Request a local quote separating diagnosis, access, unit repair, joint work, and concealed conditions. Do not accept a cosmetic reset when attachment or drainage is failing. If movement is suspected, seek qualified masonry or structural review.
Identify whether the stone, bond, or backing failed
A loose piece, cracked unit, open joint, stain, and bulging area can point to different problems. Ask the contractor to map the affected area and explain whether the repair is limited to resetting a piece or requires removal to inspect the substrate and water-management layers. Replacing the visible stone without correcting failed attachment or water entry can lead to repeat work. If multiple pieces are loose or the wall moves, seek a broader assessment instead of treating it as a simple patch.
Matching can be challenging. Confirm whether replacement is natural or manufactured stone, and compare texture, dimensions, color, and corner profile. A test piece can show whether a spot repair will blend. If material is discontinued or weathered, price a larger plane bounded by a corner or other natural break, while keeping that decision separate from structural necessity.
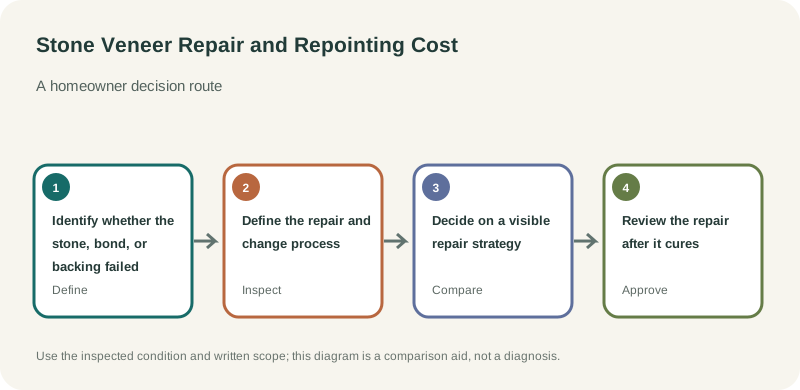
Define the repair and change process
The estimate should say whether it includes removal, disposal, replacement stone, substrate or lath repair, compatible mortar, flashing correction, access, protection, and cleanup. Establish how concealed conditions will be documented and priced before additional removal. Ask for photographs of the backing and any repaired water-management detail before stones cover it.
For recurring stains or loose veneer, ask whether moisture is entering through a cap, opening, joint, or adjacent roof detail. Cleaning or repointing may not solve a failed support or drainage path. Keep diagnostic work distinct from final repair and ensure the scope states the condition it is intended to correct.
Decide on a visible repair strategy
Before work, mark whether the goal is structural attachment, water correction, appearance, or all three. A single replacement stone can be technically sound and still stand out. Ask for a sample or proposed stone selection and compare it from normal viewing distance. If the match is poor, price a larger section ending at a corner or other natural boundary. Keep the visual enlargement optional unless the underlying assembly requires more work.
For manufactured veneer, identify the maker or product line and whether the replacement unit has the same shape, thickness, texture, and corner. For natural stone, note type and finish as best as records allow. Keep any removed piece intact if it can help identify a match. A generic material description may not be enough for a future repair.
Review the repair after it cures
Ask when the repaired area may be exposed to weather and whether protection or curing time is included. Confirm cleanup methods and whether any final washing is delayed until mortar is ready. Take close-up photos of the backing, attachment, flashing, and repaired edges before they are concealed, then retain the product and mortar details. These steps make it easier to distinguish a later appearance change from a new water or bond failure.
Compare a repair with a test opening
If a stone is loose or the wall is damp, ask whether the contractor can safely remove a representative piece to inspect the bond and backing. A test opening may add cost but can reveal whether the repair is limited or systemic. Agree whether it will be restored as part of the diagnostic fee and how the finding will be reported. For a purely chipped face with a sound attachment, a test opening may be unnecessary; the contractor should explain why it is or is not included.
For repairs in cold or wet weather, ask how work conditions affect mortar placement and curing. Confirm whether the area will be covered and when it can be exposed. The quote should identify any seasonal limits and whether remobilization would be charged if conditions change.